Panels
Flat and profiled components assessed across their surface.
Process / materials / manufacturing
Plan the flow before the first drop.
Explore the process ↓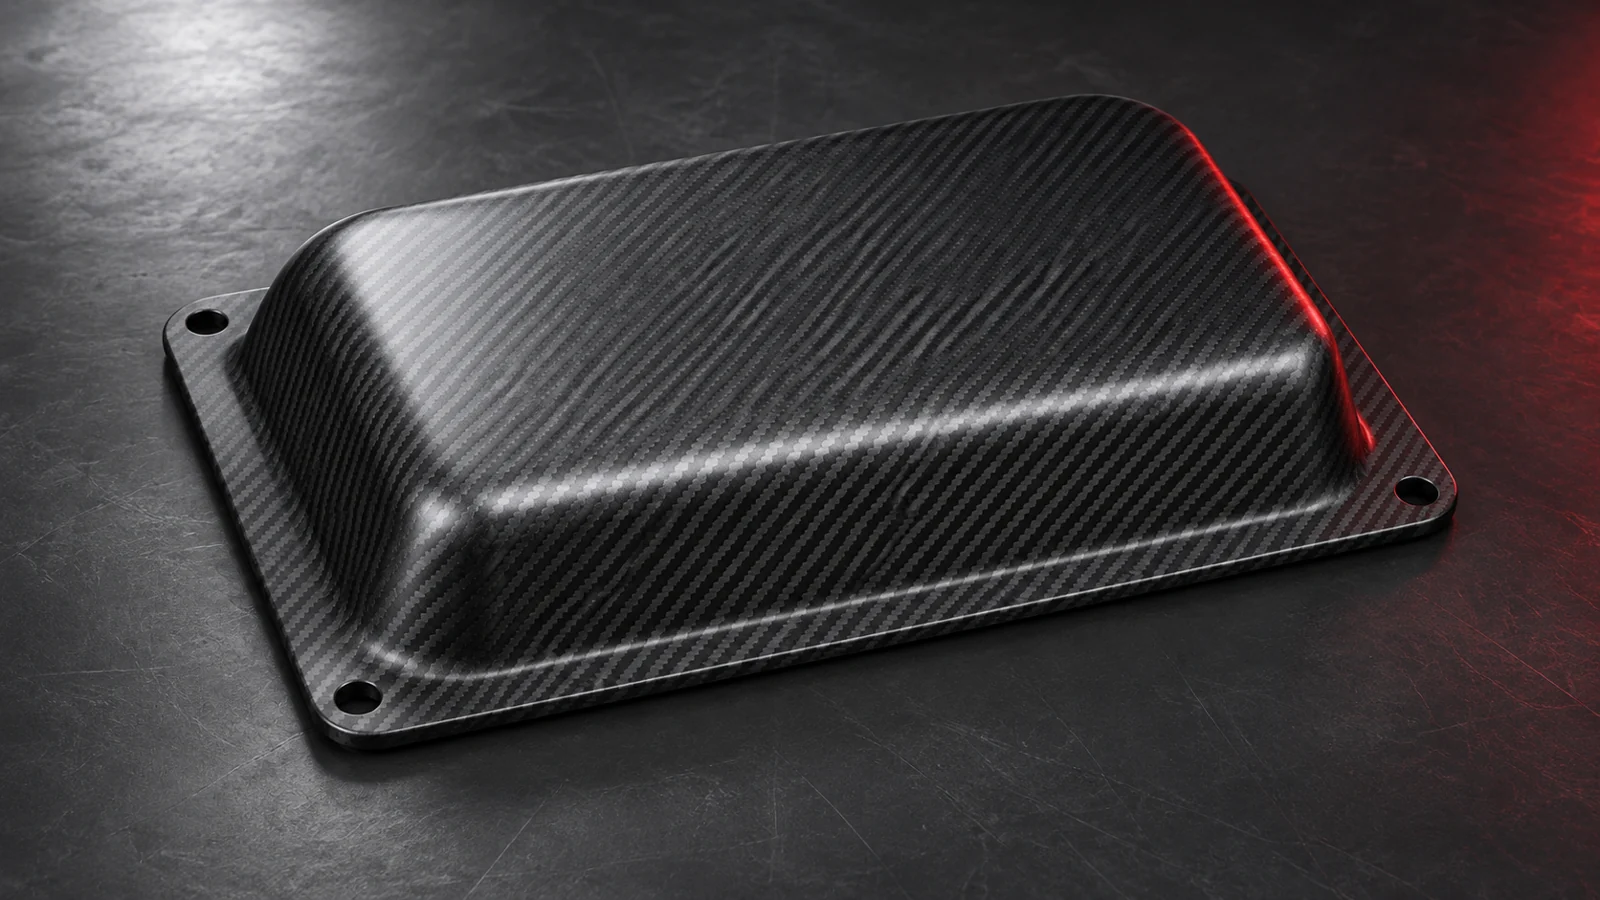
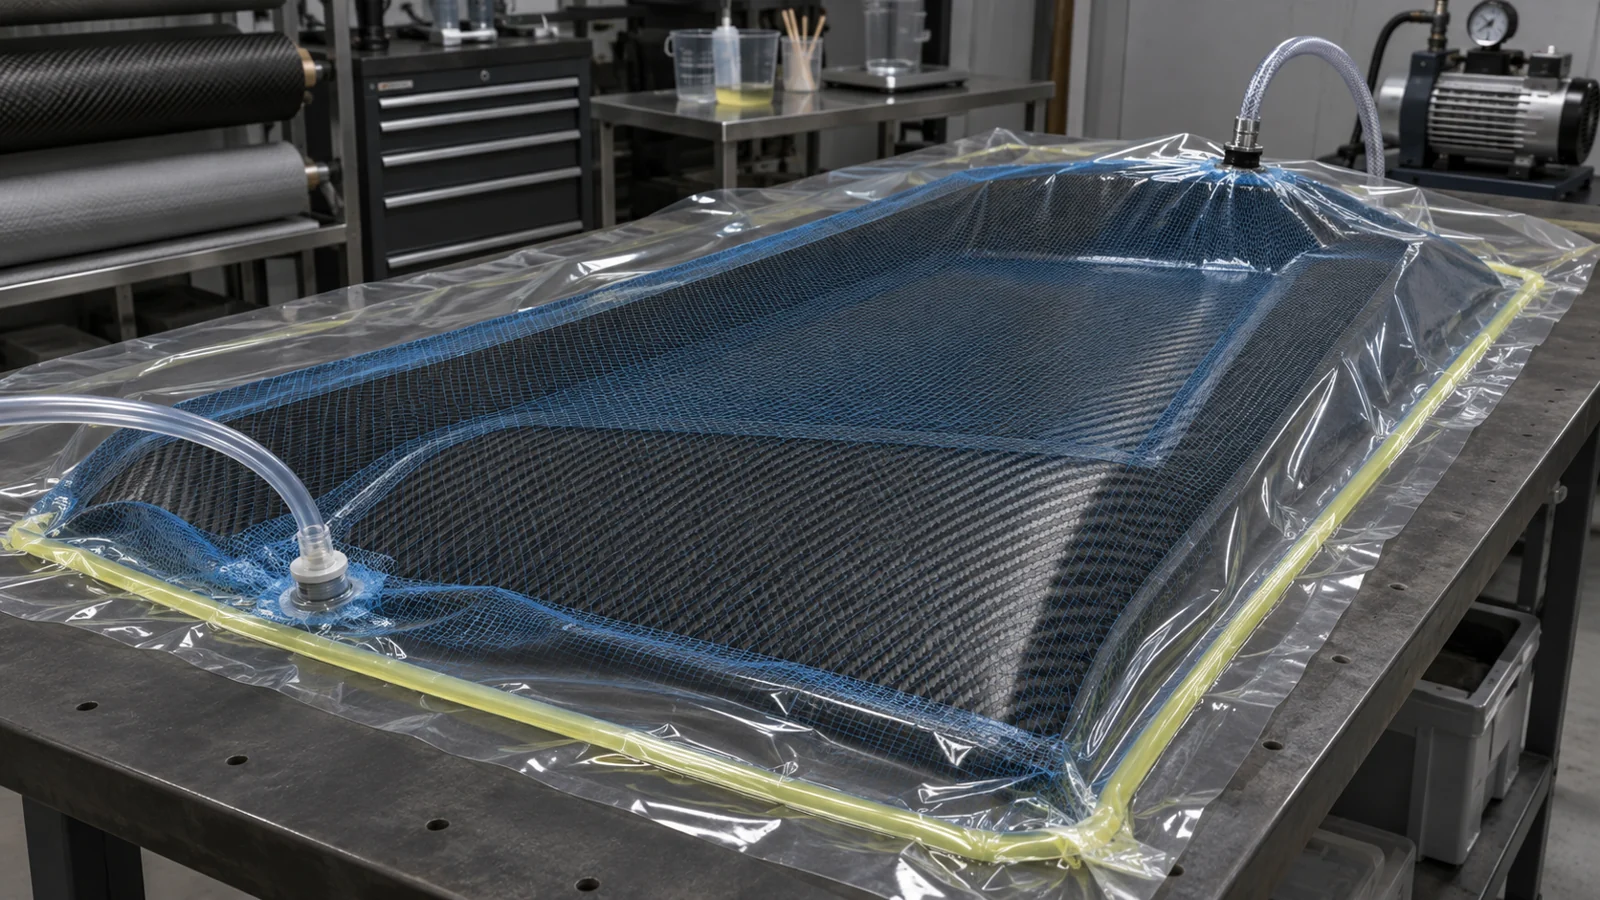
Dry reinforcement is placed in the mould before resin introduction. Bagging, consumables and a flow plan make preparation as important as the infusion itself.
Vacuum infusion of carbon fiber is an advanced technique that allows resin to be introduced effectively into carbon composites. Based on the principle of negative pressure, the process ensures even distribution of resin, which translates into increased strength and durability of the final products. With this method, production costs are lower.
Material arrangement and flow planned before starting.
Review corners, flanges and edge access.
Check the seal and follow the agreed process.
Applications
Flat and profiled components assessed across their surface.
Parts with defined edges and mounting areas.
Components matched to the space inside equipment.
Parts benefiting from a documented preparation and acceptance plan.
Process
Geometry, application and the agreed scope define every stage. This is how a component enquiry becomes a manufacturing plan.
Start with the model, application and expectations. Consider the mould split, visible surfaces and difficult lay-up areas.
Place reinforcement and consumables. Resin and vacuum connections follow the component-specific flow plan.
Seal the arrangement and check for leaks before introducing resin. Preparation should resolve questions before the flow begins.
A pressure difference enables resin flow. Processing and curing follow the selected system and manufacturing plan.
Complete the agreed finishing and review geometry, edges, mounting areas and appearance.
Materials
Reinforcement, resin and finish work together. Begin with what the finished component needs to do.
Select material and arrangement to suit the geometry and requirements. Correct placement precedes closing the bag.
Choose a system suited to the method and application. Its documentation defines relevant processing requirements.
Bagging, seals and flow arrangement are part of the process plan, not independent accessories.
Comparison
Start with the project rather than a ranking. Compare how material is handled and what needs agreement.
| Process | Reinforcement handling | Points to define |
|---|---|---|
| Hand lay-up ↗ | Wetted during lay-up | Geometry, finish and manual operations |
| Vacuum infusion ↗ | Resin introduced into a dry arrangement | Flow plan, seal and mould preparation |
| Prepreg ↗ | Pre-impregnated reinforcement | Material system, tooling and cure requirements |
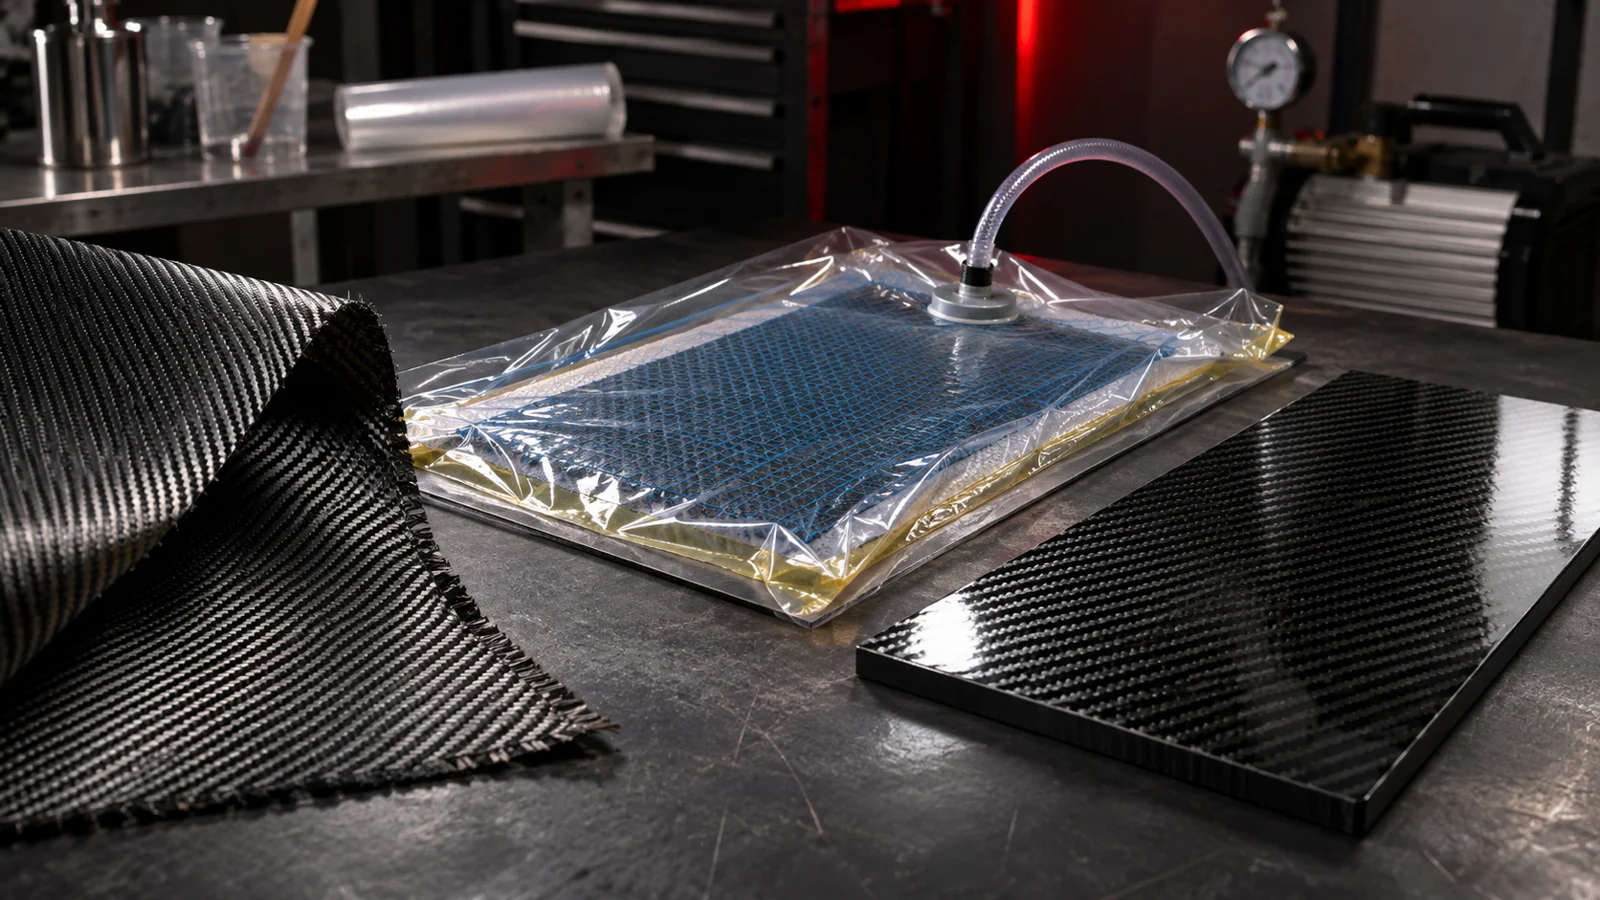
Three approaches to composite production, different process requirements and one shared aim: a component suited to its application. Here is what to compare before choosing.
Read article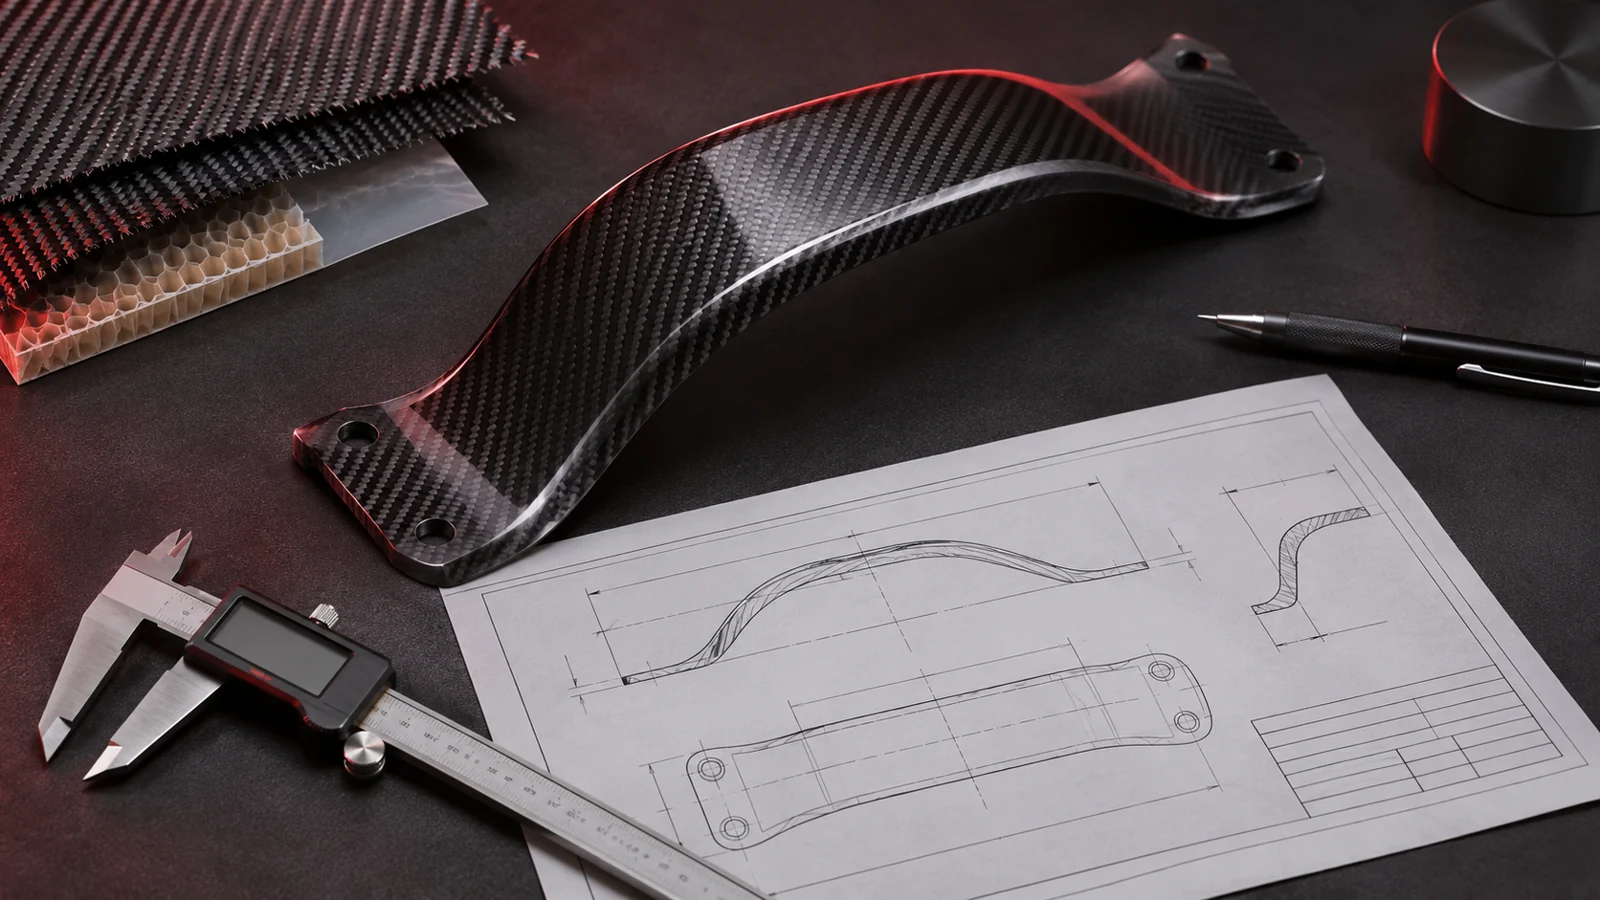
A useful quotation starts with a clear brief. Learn what to send, which requirements to define and what to clarify before ordering a carbon or glass fibre component.
Read articleFAQ
Some shapes are less suitable. Tooling, reinforcement placement and flow need assessment.
That depends on the existing tooling, its condition and the sealing arrangement. Send photographs and documentation.
No. The name describes the process rather than a single reinforcement.
Geometry, application, quantity, surface expectations and available tooling or reference.
Contact
Send a model, drawing or dimensioned photographs. Add the application, quantity and preferred timing. We can clarify the remaining questions together.
Request a quote ↗