Automotive
Mudguards, covers and visible components matched to vehicle geometry.
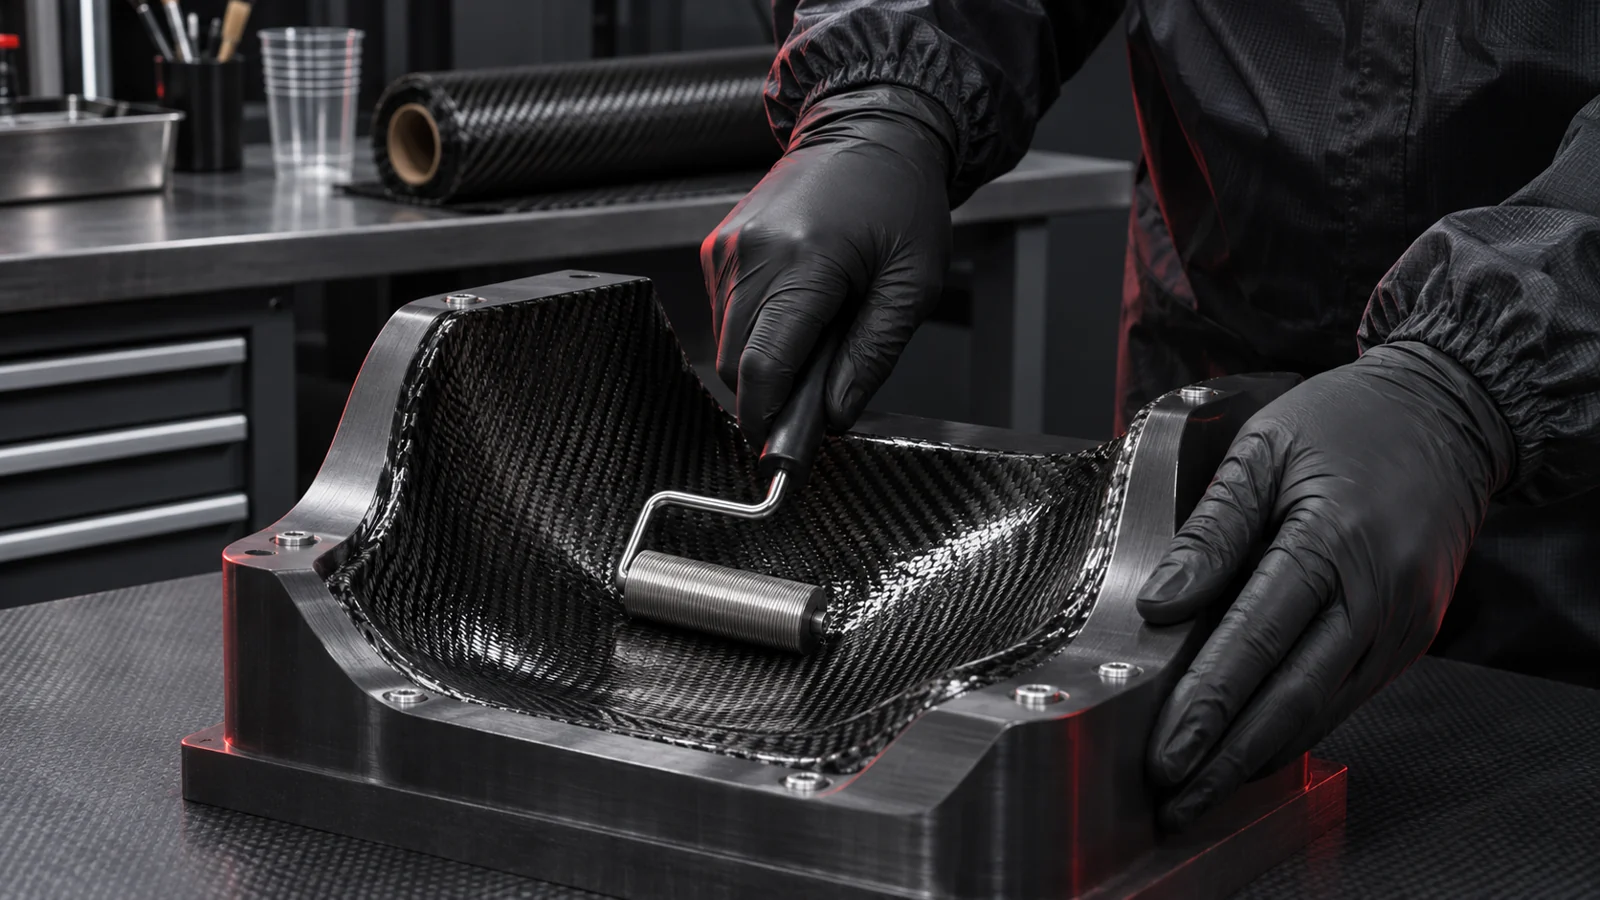
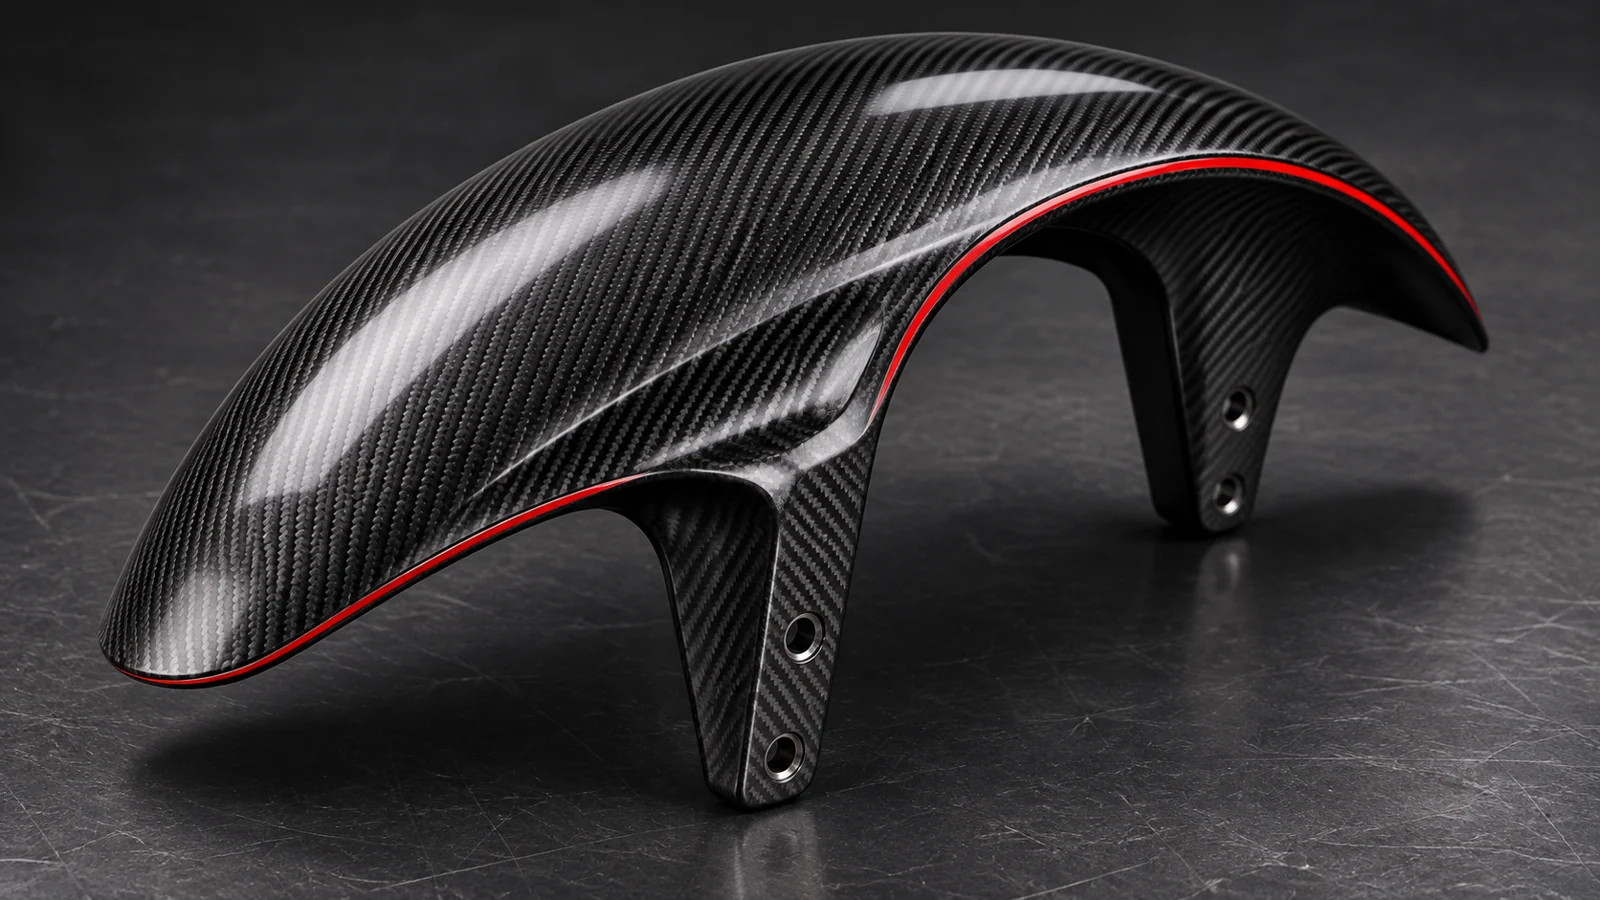
Hand lay-up brings the operator directly to the mould geometry and each reinforcement layer. Discuss prototypes, covers and short runs through the requirements of the actual component rather than a fixed production recipe.
Hand lay-up (wet lamination) of composite materials is an advanced technique that is gaining popularity in industry. The process involves applying layers of resin to composite fibers in a wet state, which allows for better adhesion and durability of the final products. It is the oldest, most affordable and most proven lamination technique.
Attention to curves, edges and transitions.
Agree weave direction, surface and finish.
From reference preparation to component finishing.
Applications
Mudguards, covers and visible components matched to vehicle geometry.
Covers with defined shapes and mounting arrangements.
An initial part for reviewing appearance, fit and assumptions.
Projects requiring an individually agreed scope and repeatability.
Process
Geometry, application and the agreed scope define every stage. This is how a component enquiry becomes a manufacturing plan.
Collect the application, documentation and expectations. Identify visible faces, mounting and points to resolve before work begins.
Review the model or original component. Agree tooling preparation separately: its geometry and surface influence later stages.
Reinforcement is fitted to the mould and wetted with resin. The actual design determines orientations and areas requiring attention.
Curing follows the material requirements. Demoulding and agreed trimming, holes or surface preparation follow.
Check the agreed characteristics. A fitting stage can review clearances, mounting access and appearance before proceeding.
Materials
Reinforcement, resin and finish work together. Begin with what the finished component needs to do.
Carbon, glass or another solution should follow the requirements. A visible ply and the underlying construction can have different purposes.
Application, operating conditions and processing guide the choice. Fabric alone does not define the finished laminate.
Technical, satin, gloss or prepared for painting. Agree the expectation through a reference or sample.
Comparison
Start with the project rather than a ranking. Compare how material is handled and what needs agreement.
| Process | Reinforcement handling | Points to define |
|---|---|---|
| Hand lay-up ↗ | Wetted during lay-up | Geometry, finish and manual operations |
| Vacuum infusion ↗ | Resin introduced into a dry arrangement | Flow plan, seal and mould preparation |
| Prepreg ↗ | Pre-impregnated reinforcement | Material system, tooling and cure requirements |
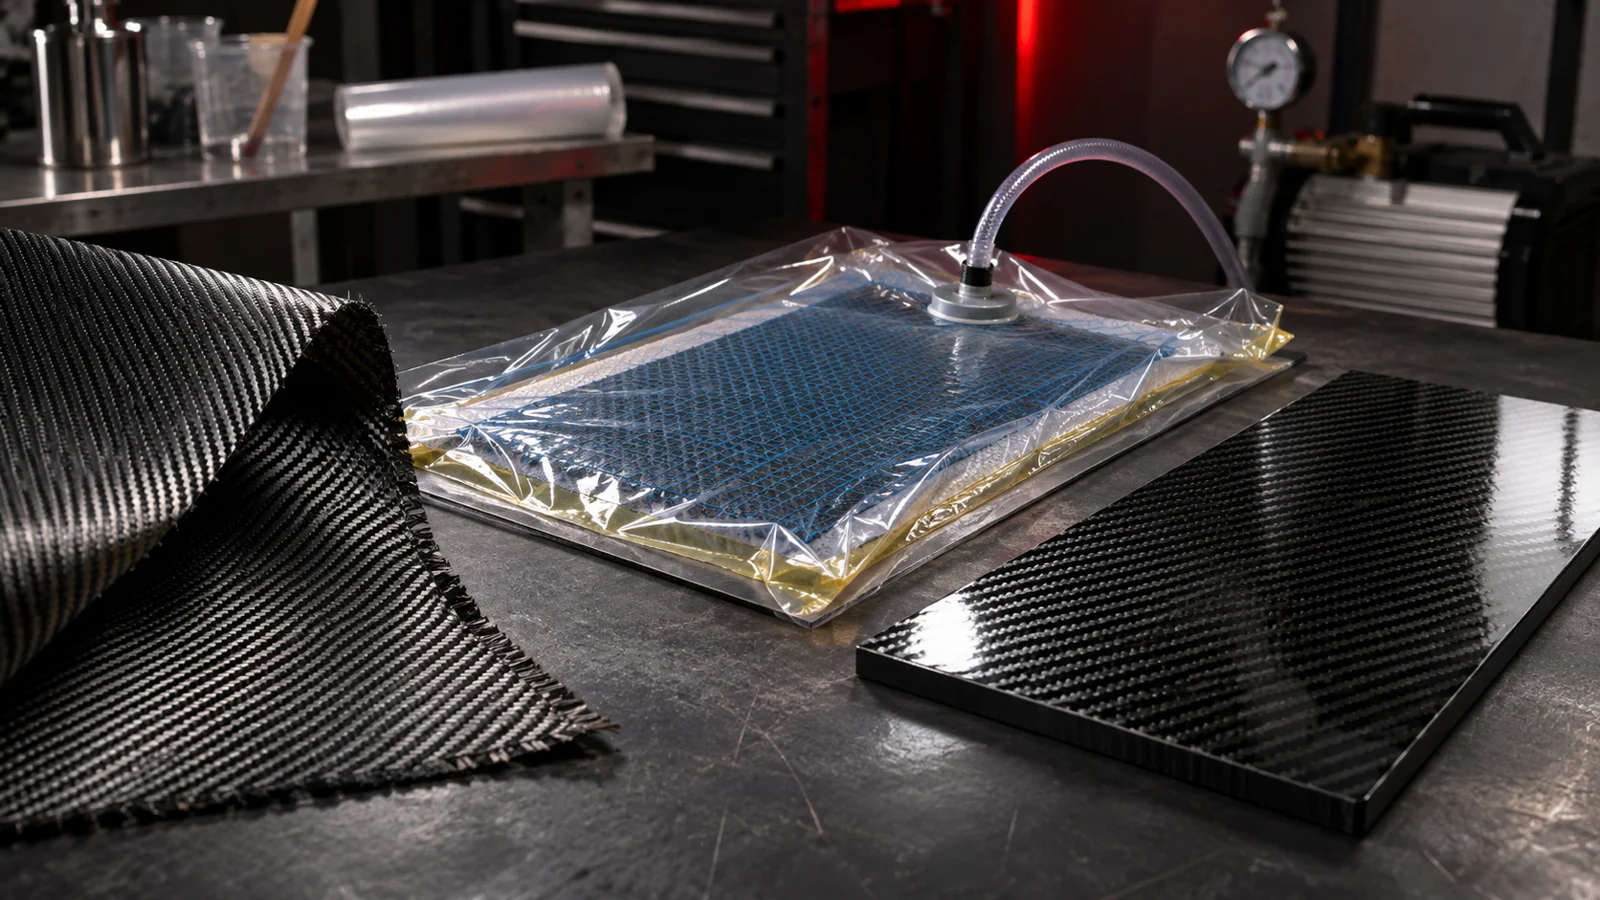
Three approaches to composite production, different process requirements and one shared aim: a component suited to its application. Here is what to compare before choosing.
Read article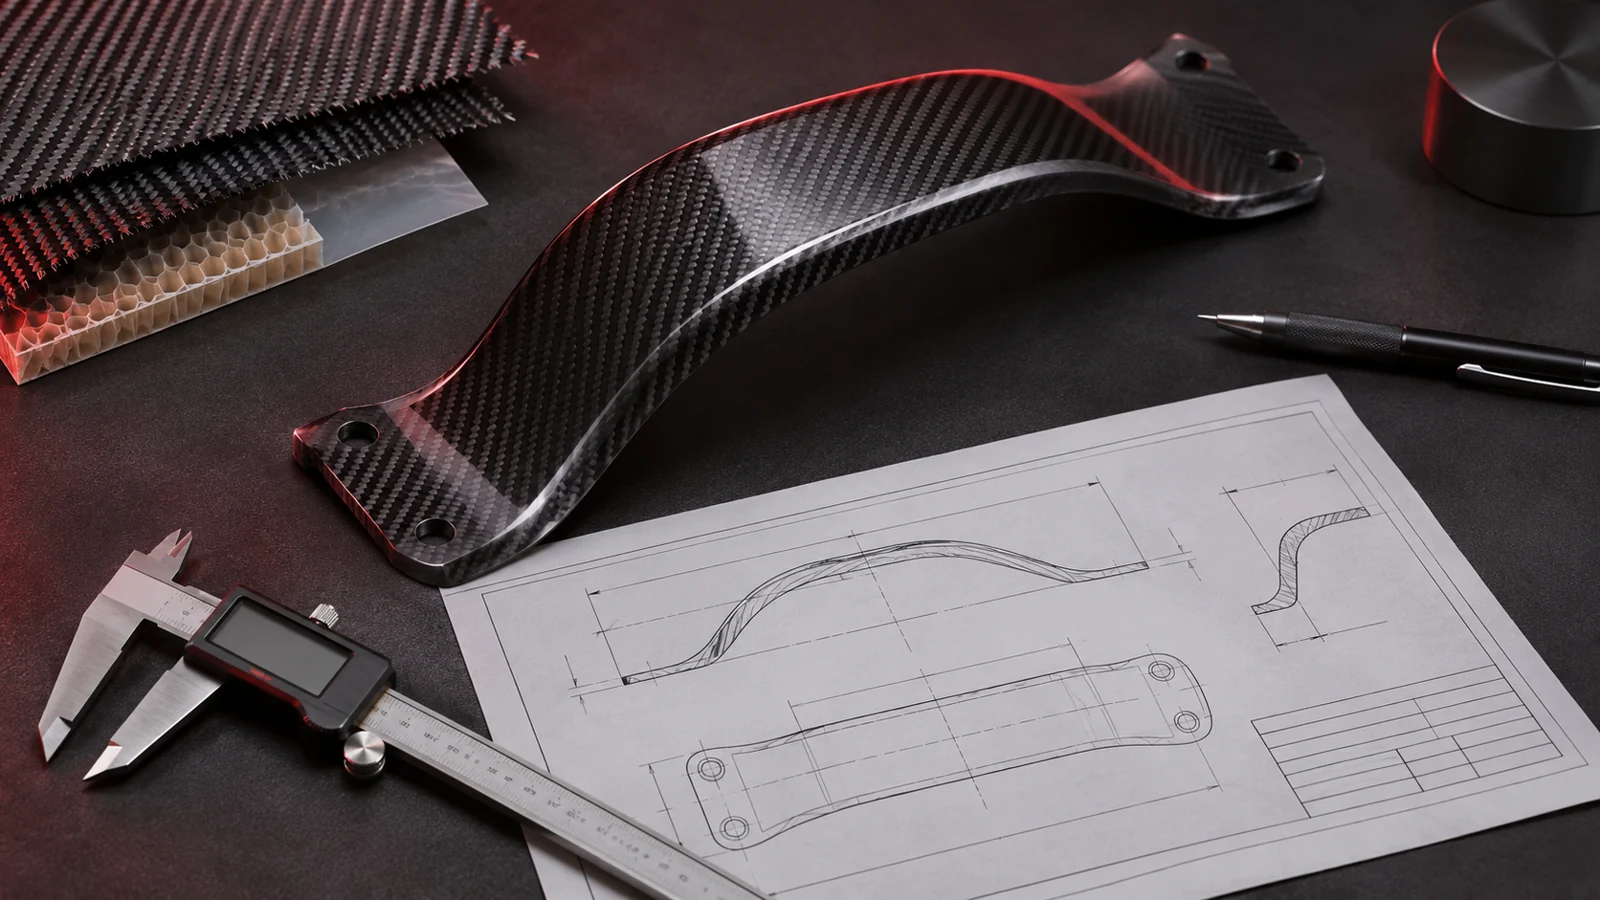
A useful quotation starts with a clear brief. Learn what to send, which requirements to define and what to clarify before ordering a carbon or glass fibre component.
Read articleFAQ
It helps, but a dimensioned sketch, photographs or an existing part can begin the discussion.
State the quantity. Feasibility depends on shape, tooling and expectations.
Include weave orientation and gloss level in the visual requirements.
Tooling, geometry, materials, quantity, finishing and the agreed scope.
Contact
Send a model, drawing or dimensioned photographs. Add the application, quantity and preferred timing. We can clarify the remaining questions together.
Request a quote ↗